December 3, 2014
 “See how this sparkly devop princess bakes bread every day with almost no effort at all with this one weird trick”
Store bought bread is shit. Even the “artisanal” bread at most supermarkets is little better than cake baked in a bread shaped mold ( seriously check next time you’re at a supermarket ). You might be lucky and have a really good bread baker near you, but like butchers and other important crafts they have all but disappeared. My solution to this was to start baking bread myself. I did a ton of research, started my own sourdough starter ( 5 years and going strong! ) and started baking bread regularly.
Reading Boyd’s excellent blog post on LaundryOps made me realize that I should write this up as I had somewhat unwittingly applied these DevOps practices to baking bread.
For a while it was tough going making bread all the time, starters and doughs are fickle beasts and required constant care and feeding ( literally, you have to feed a sourdough starter at least twice a day ). After almost giving up several times I started to apply what I now know as devops techniques. Over time I worked to constantly improve my processes specifically optimizing for my time. I can even apply CAMS across it:
Culture
- Lactobacillus … HAHAHAHA Bakers joke!
- A long fermentation time which converts more of the sugars into gas and makes the proteins more digestible… Wait still wrong culture.
- Minimal human interaction ( approx 5 minutes per loaf ) reduces impact on normal life.
- Healthy Fresh bread for you and your family
Automation
- Slow ferment reduces requirement to knead to almost zero.
- Refrigerating the dough allows me to take control of the timetable.
- Usable for 5-7 days from the fridge. Multiple loaves from the one batch.
Measurement
- How much active time did I spend on it ?
- How long did it take to ferment?
- How is the crust? How is the crumb ?
- Is it better or worse than the previous iteration ?
Sharing
- A lot of people have received loaves of bread from me during experimentation.
- Ensure this process is approachable by others.
- This blog post.
The final technique that I came up with is not exactly unique and is similar to a number of several hundred page thirty dollar books aimed at making baking bread more accessible to the home cook, where it differs is that this is just a short blog post and is free as in beer and speech. It’s fairly descriptive and may seem like a lot of work, but I tend to average a little over 5 minutes of active time per loaf of bread which is a negligible amount of time.
Ingredients and Tools
I worked hard to ensure that you don’t need to use any specialized tools. No need for a standmixer or other expensive tools. There are only two things (listed first) that you might not have in your kitchen, and they’re both so versatile that you should have them.
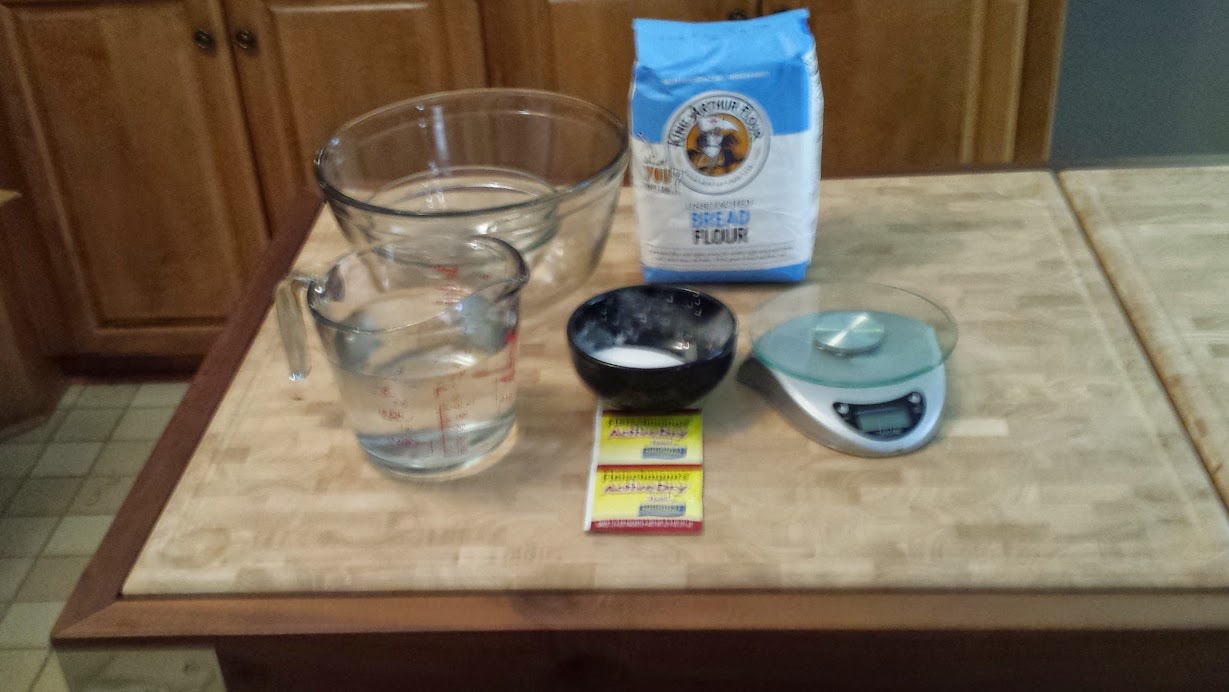
- Kitchen Scale[1]
- capable of measuring to the gram
- Baking Stone[2]
- large square one, the biggest that will fit in your oven
- A cast iron pan or dutch oven will do in a pinch.
- One large and one small mixing bowl
- Plastic Wrap
- always cover your dough.
- a showercap makes a great reusable cover.
- Flour
- almost any flour will work, even All Purpose
- I recomend you start with King Arthur Bread Flour.
- I usually do a mix of KABF and stone ground whole wheat.
- Salt
- any salt as long as its not iodized.
- Water
- tap water is fine.
- Yeast ( if using )
- I used Fleischmansn’s Active Dry.
- Olive Oil
- For oiling the bowls used in the final shaping.
- I usually line the bowl with floured cheesecloth instead.
[1] Measuring by volume is a mugs game. Flour and Salt across different brands have different sized grains and this are different weights for the same volume.
[2] you could get away with using a baking tray, but a baking stone or a cast iron skillet will give you the best results.
The Starter
I use a sourdough starter, and I would recommend that you do the same … But unless you already have a starter or have a friend who will give you some ( I’d be happy to give you some of mine ) You’ll probably want to use regular yeast which is what I’ll describe below. If you have a sourdough starter then skip this step.
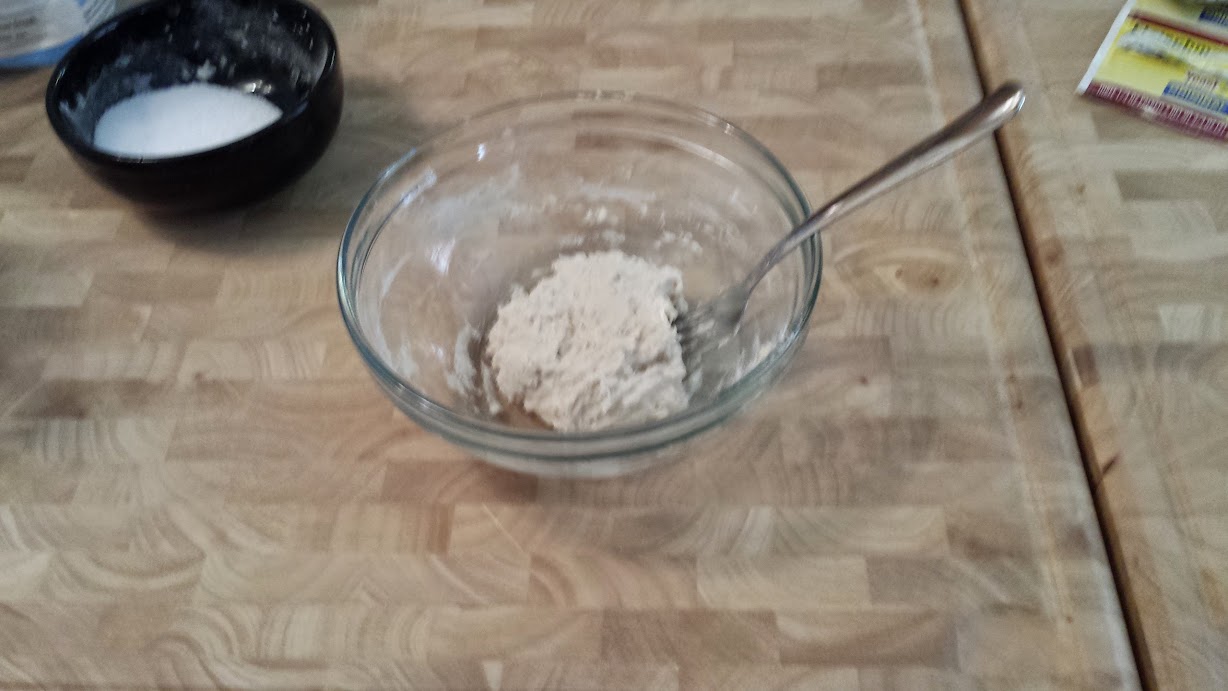
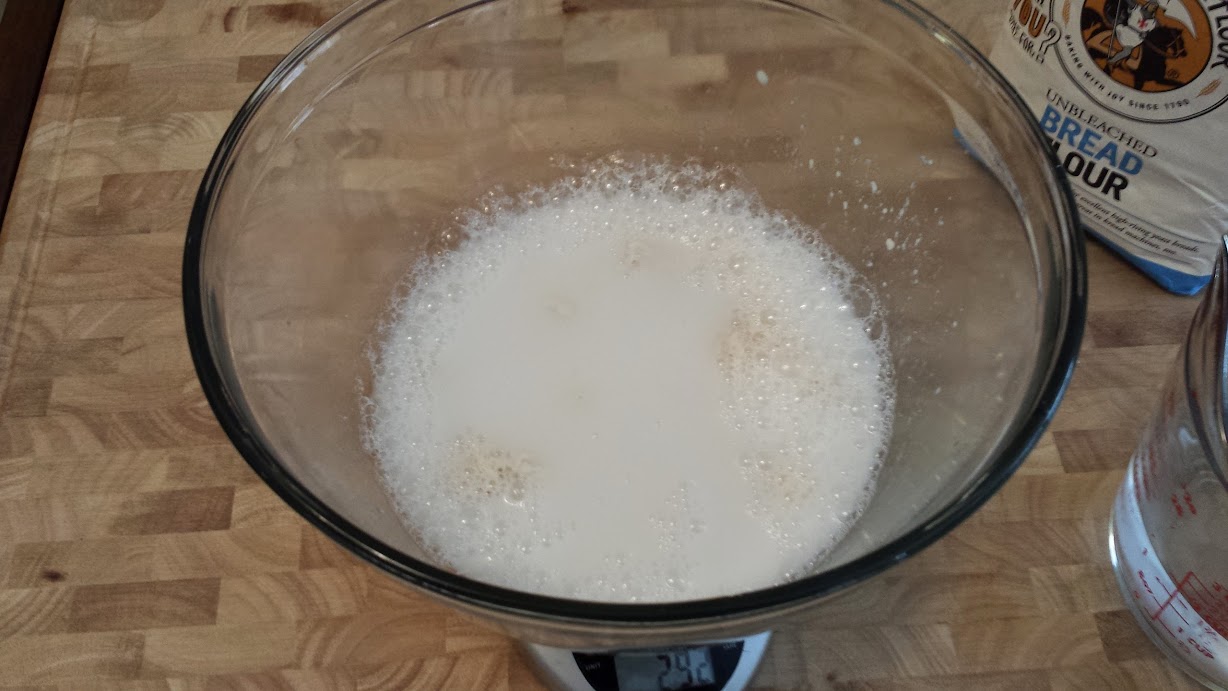
Mix 50g Flour, 50g Water, 3g yeast until it forms a paste and then cover with plastic wrap:
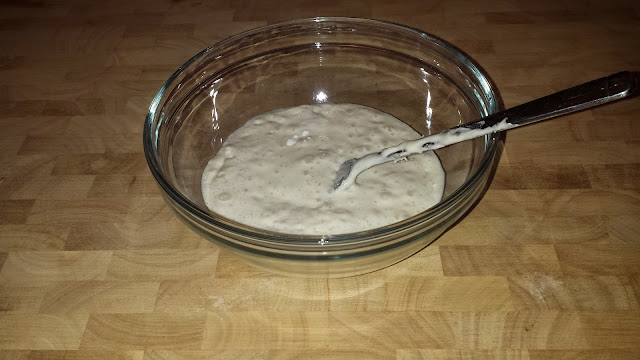
After 4-6 hours it should be all bubby and smell yeasty and ready for The Mix:
The Mix
Add the Starter and 375g of water to the large bowl and mix with a fork until it looks like milk:
Metric protip: a gram of water is the same as a milliliter of water
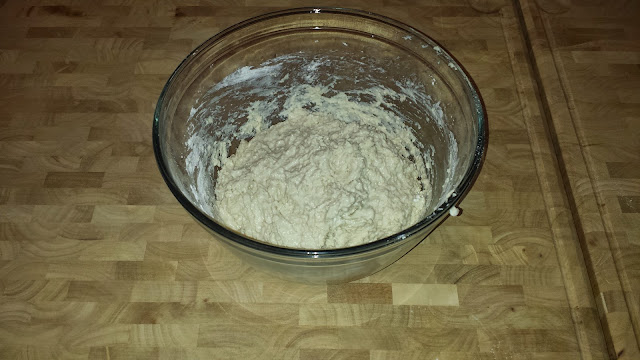
Add 500g of flour and 15g salt. Mix it until fully incorporated ( we’re not kneading here, just making sure there is no dry flour left ):
These quantities form a ratio that can be used to make batches as big or as small as your want. I usually double it which gives me a decent sized loaf every two days.
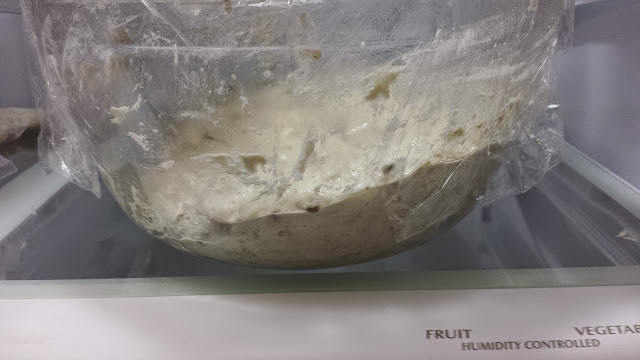
The Warm Ferment
Cover the bowl and leave it at room temperature for 4 to 8 hours. The timing doesn’t have to be precise, you’re just looking for sings of the yeast to start fermenting the flour and creating air bubbles. Cover and refrigerate for at least 24 hours, up to 5 days:
The Shaping
Whenever you are working with the dough, it is important to try to lose as little air as possible. Do not punch it down.
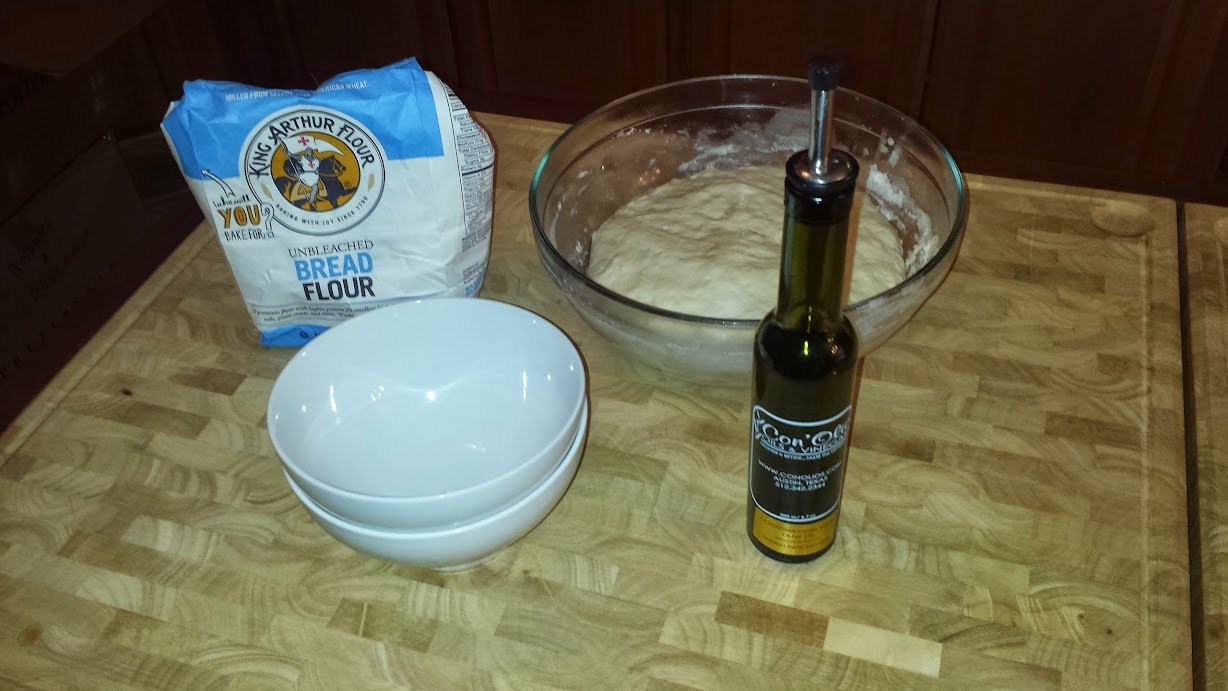
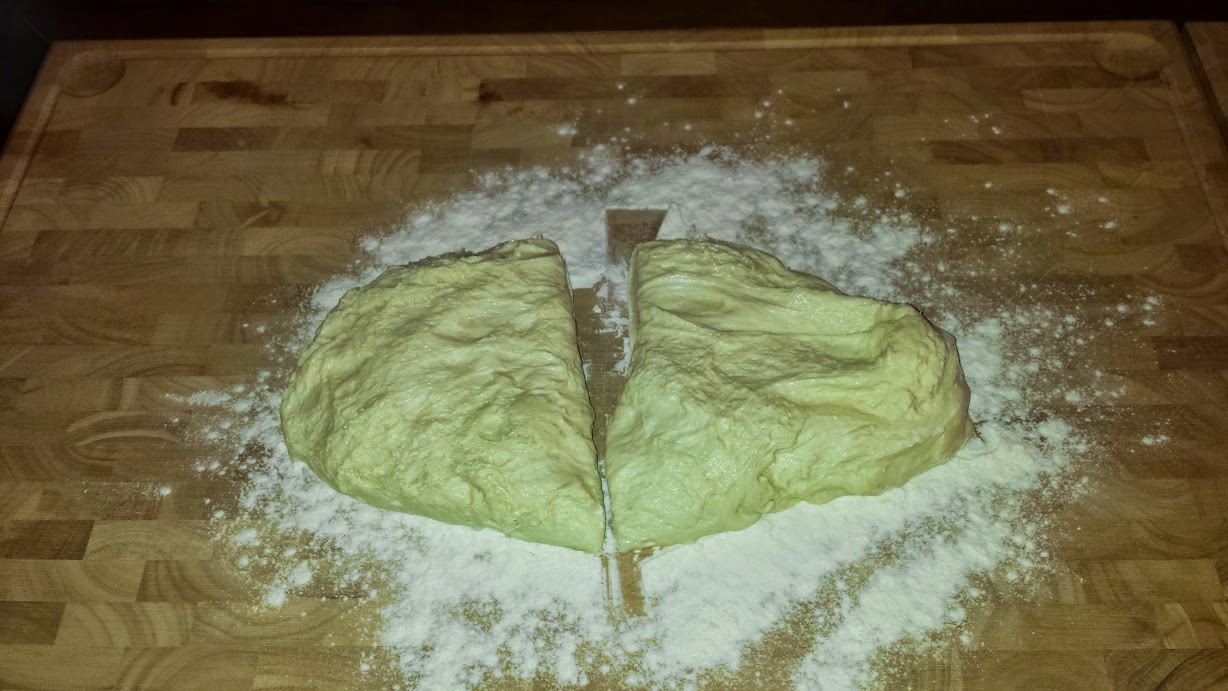
Lightly flour the bench and turn out your dough. Cut off a piece to use and put the rest back in the bowl and back into the fridge:
Protip: You can use the final piece of dough as the starter for the next batch and skip a step.
Gently stretch the piece dough out into a squaring shape and then fold each edge into the middle:
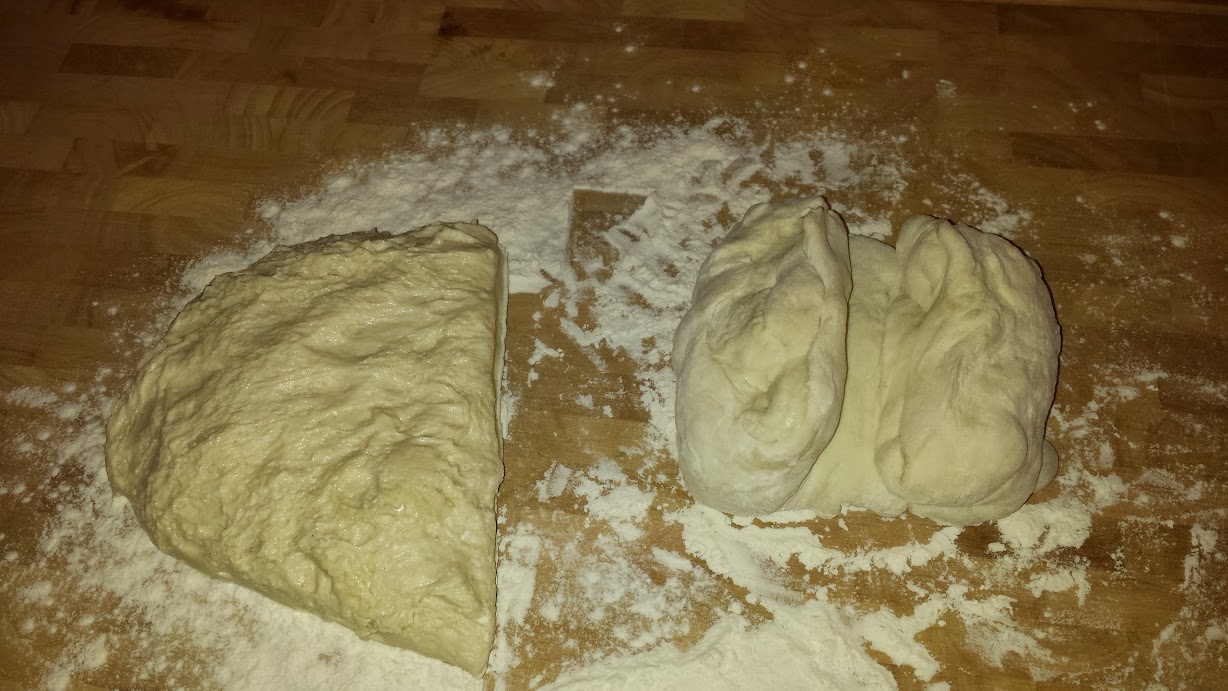
Turn the dough over and shape it into a ball:
Watch this video (not mine) for the technique used to shape the dough into balls.
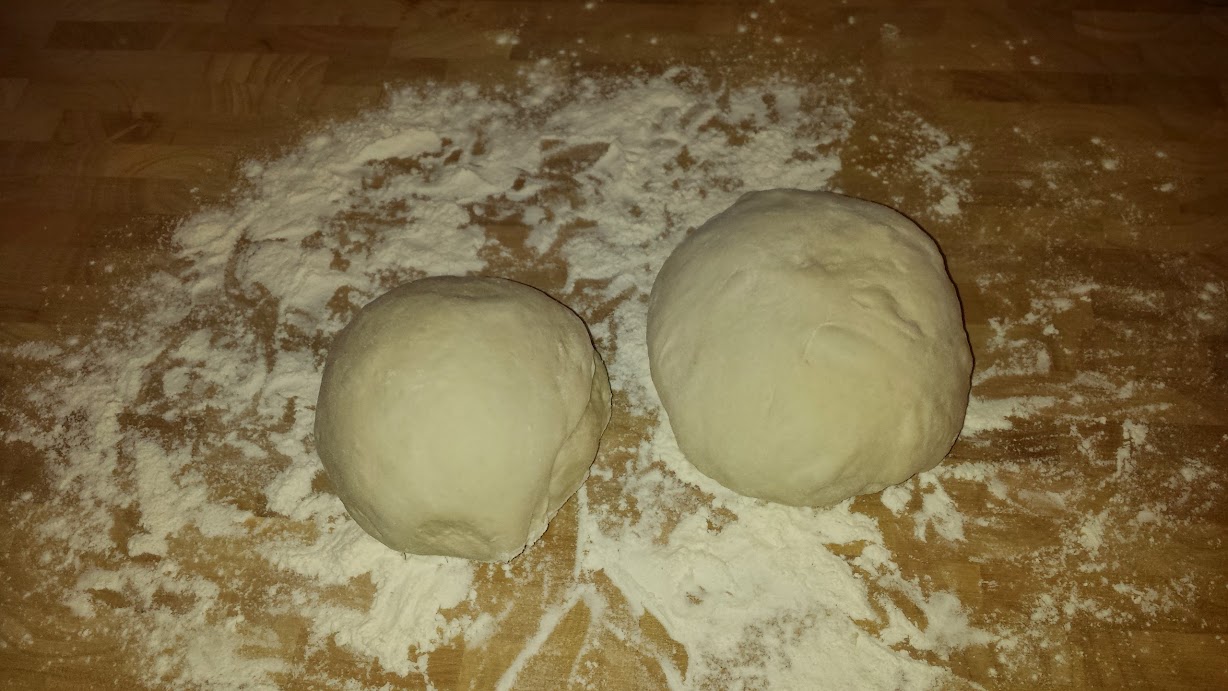
Oil your shaping bowl and flip your ball over so that the top of the dough is facing down in the bowl and cover it:

You can easily make Ciabatta ( just fold it over itself in one direction and crimp the edges ), or Baguettes ( harder to explain, but youtube has plenty of guides ), or any other style of bread that you prefer. Even works great for pizza bases!
The Final Ferment
Let the dough warm back up to room temperature and the yeasts to wake up and get active again. This will probably take about two hours. Crank the oven on to 450F after about an hour. This gives the oven a good solid hour to get up to temperature and stabilize.
The Bake
Turn the oven up to 500F, open the door, and slide the rack with the pizza stone out so that you can get to it without burning yourself. upend the bowl onto the stone and run a knife quickly over the top to create a shallow cut:

Bake for 5 minutes, then turn the oven back down to 450F and bake for another 20 minutes:
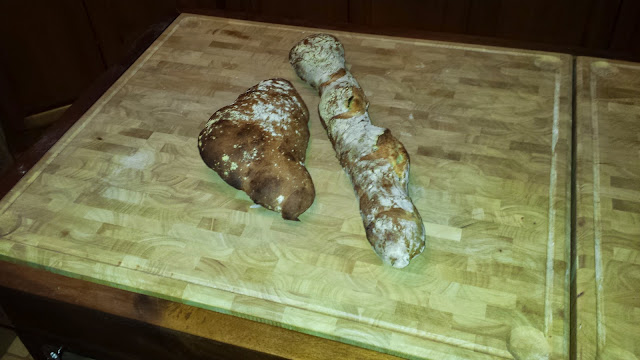
The Cooldown
Avoid the tempation to cut into the bread while its still hot. Bread continues to cook as it cools down and its important to not allow steam and heat to escape.
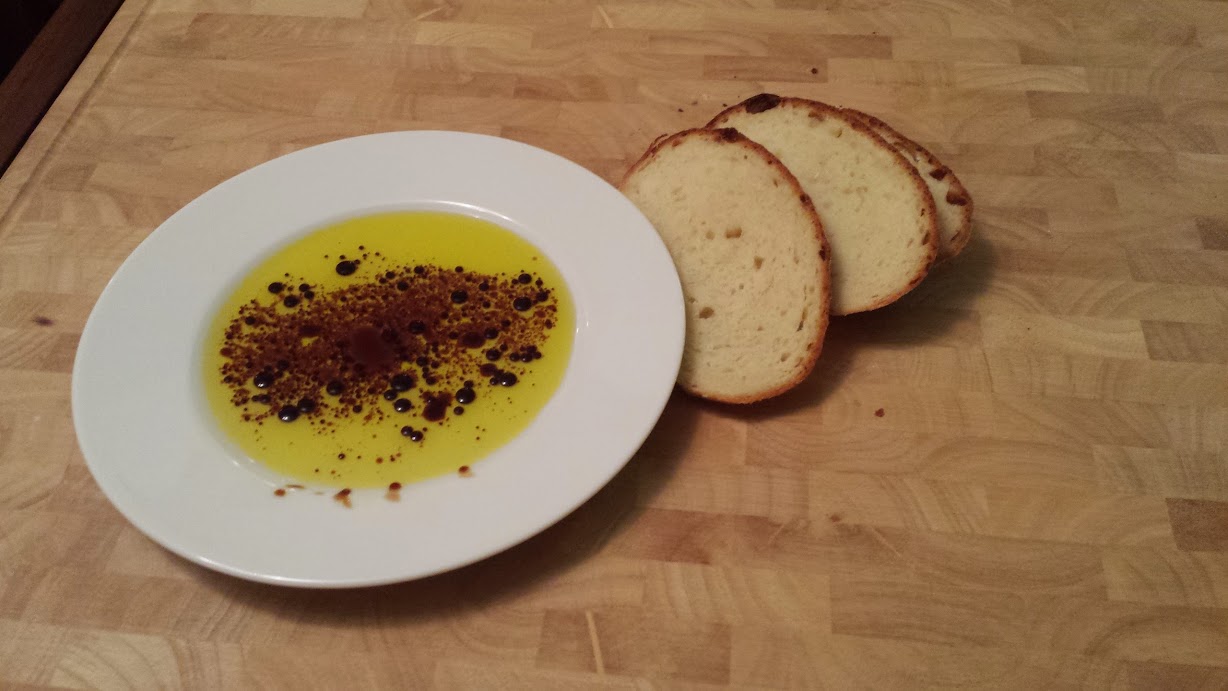
The Eatening
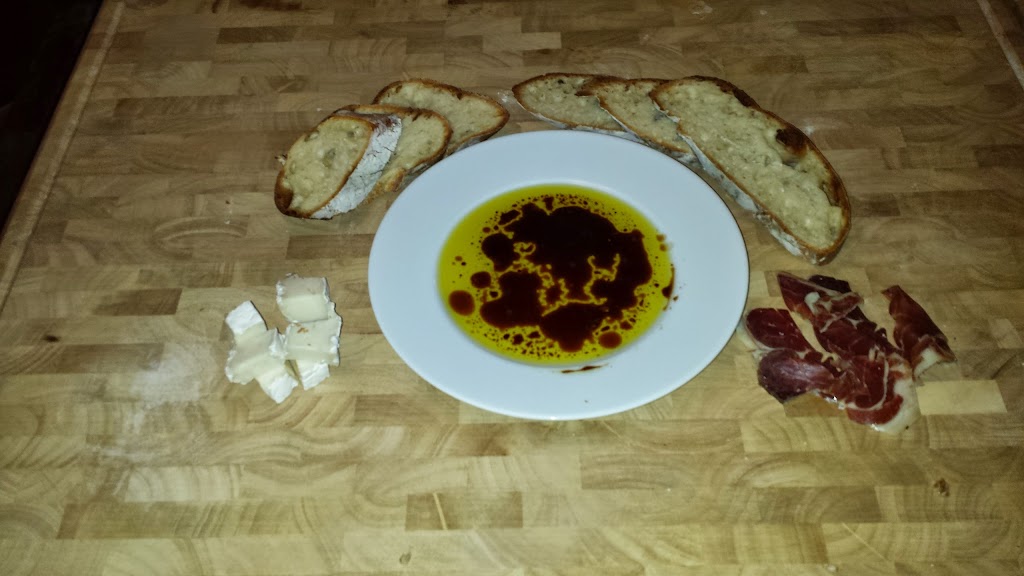
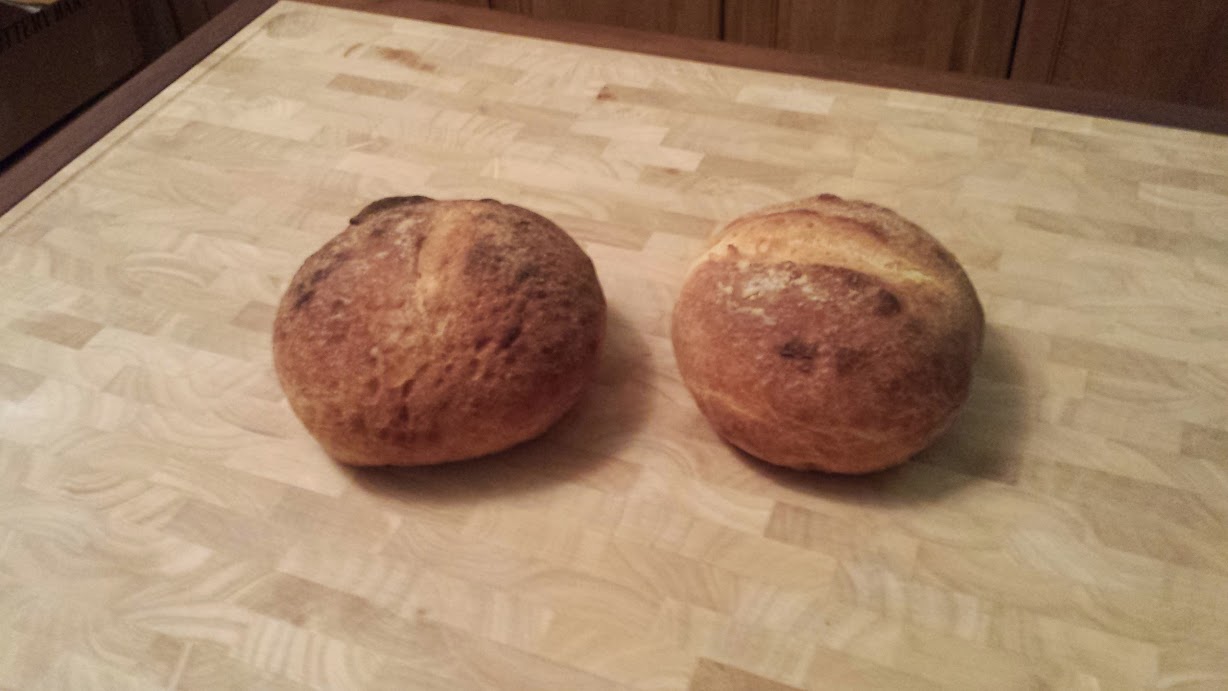
Fresh bread is best enjoyed simply with some high quality extra virgin olive oil and balsamic vinegar:
Tips and Tricks
- Make your starter from Ikea’s BRÖDMIX FLERKORN which contains all sorts of interesting grains as well as Yeast and “Sourdough Powder” whatever that is.
- Make sourdough pancakes from your leftover starter.
- Shape your dough into a pizza dough and bake it in a cast iron skillet.
- You don’t have to make round loafs. use a sandwhich loaf tin, or make ciabatta or baguettes. It’s all it the shaping.
- If you’re brave make your dough wetter and ferment for longer. you’ll get cazy large holes in your crumb.